Handle control robotic arm
1. Hardware connect
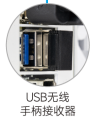
- Insert USB receiver into USB interface on Jetson board
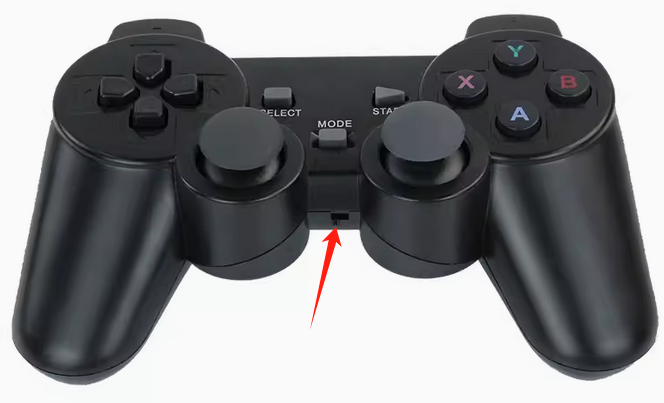
- Install the batteries in the wireless controller and turn the power switch to [ON].
2. Run handle control program
Before starting the controller control program, you need to make sure that the APP control program is closed, otherwise it will cause interference.
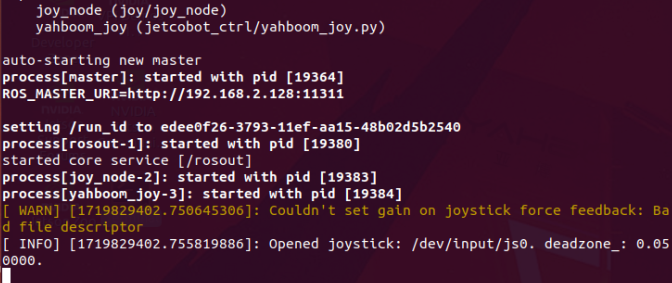
Run the controller control program
roslaunch jetcobot_ctrl hemihex_joy.launch
3. Key function
Press the [START] button to activate the handle.
You can now start control the robotic arm. The button functions are shown in the figure below.
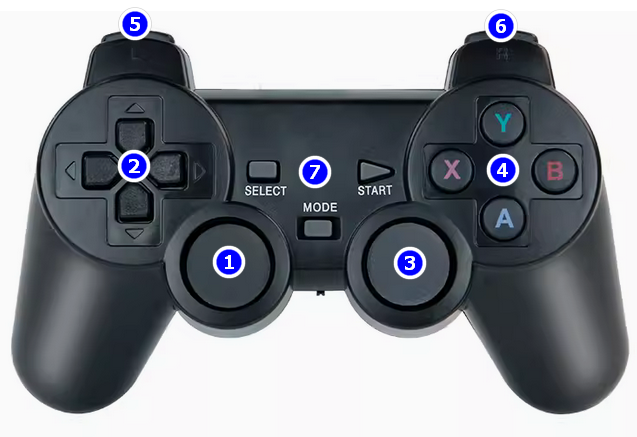
①: Up and down control joint 2, left and right control joint 1.
②: Up and down control joint 3, left and right have no function.
③: Up and down control joint 4, left and right control joint 5.
④: Y A controls joint 7 (gripper), X B controls joint 6.
⑤: L1 controls the robotic arm speed to increase, L2 controls the robotic arm speed to decrease.
⑥: R1 controls the gripper to clamp immediately, R2 controls the gripper to release immediately.
⑦: [SELECT] button controls the robotic arm joint angle to return to the initial position.
[START] activates the handle.
[MODE] mode switch, do not press this button.
Note: When the wireless handle is idle for a few minutes, it will automatically enter the sleep state. At this time, you need to press the [START] button to activate the handle before you can control the robot arm.